Open your web browser
Launch your preferred browser (e.g. Chrome, Edge, or Firefox).
Go to the Microsoft Teams download page
Click the link below to download Microsoft teamClick Here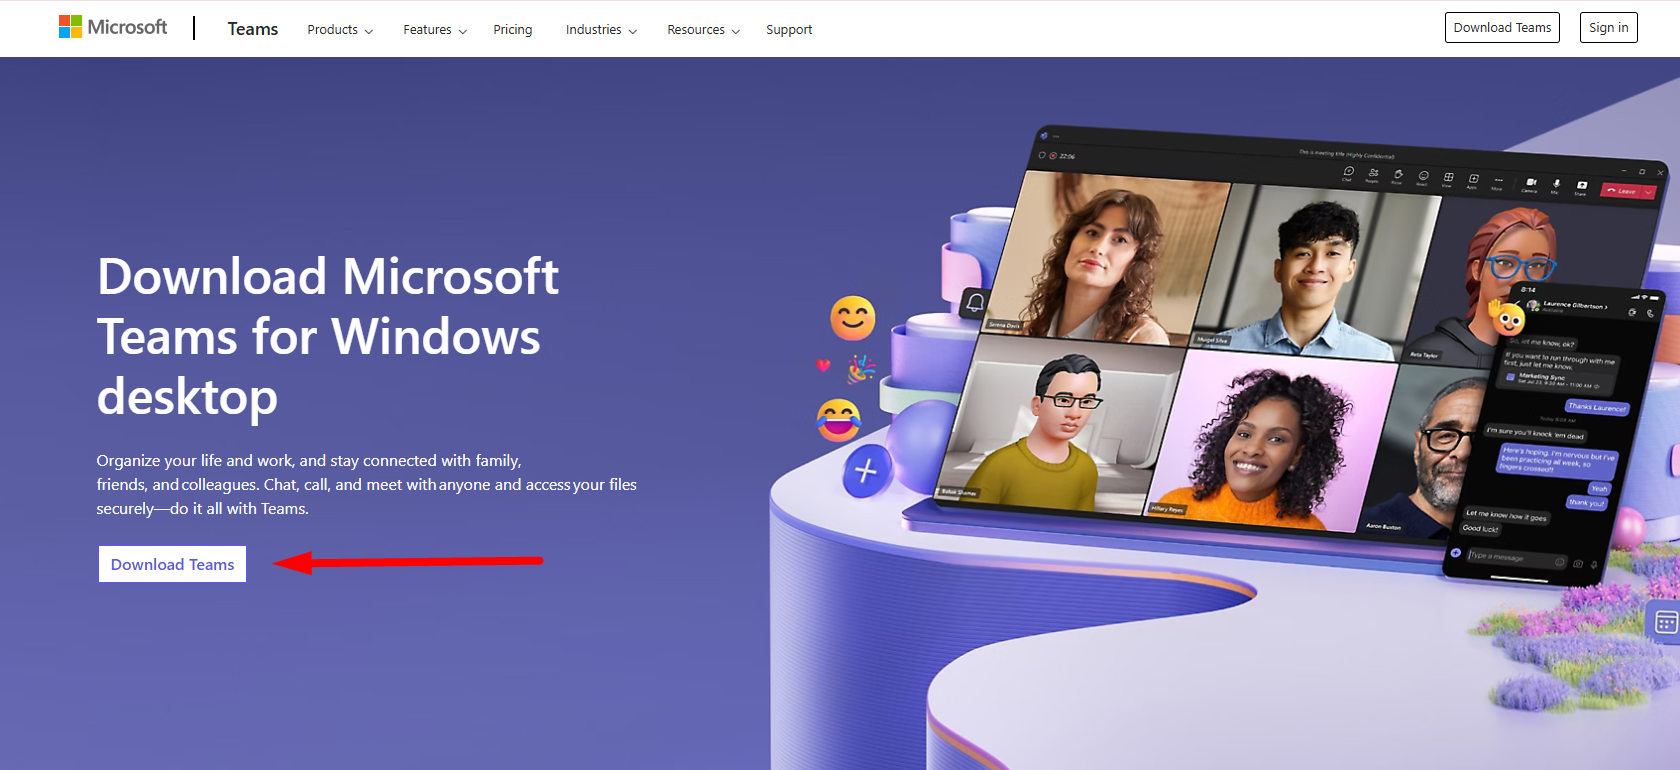
Download Teams for desktop
On the page, click “Download for desktop”.
This will download the Microsoft Teams installer (a .exe file) to your computer.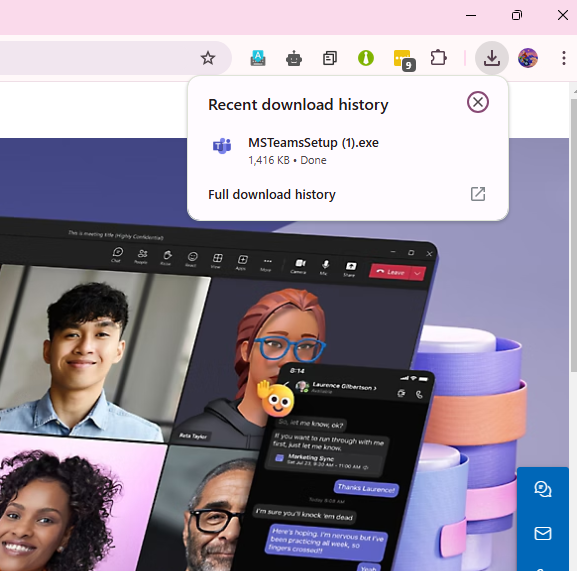
Find the downloaded file
When the download finishes, open your Downloads folder (or the folder where your browser saves files).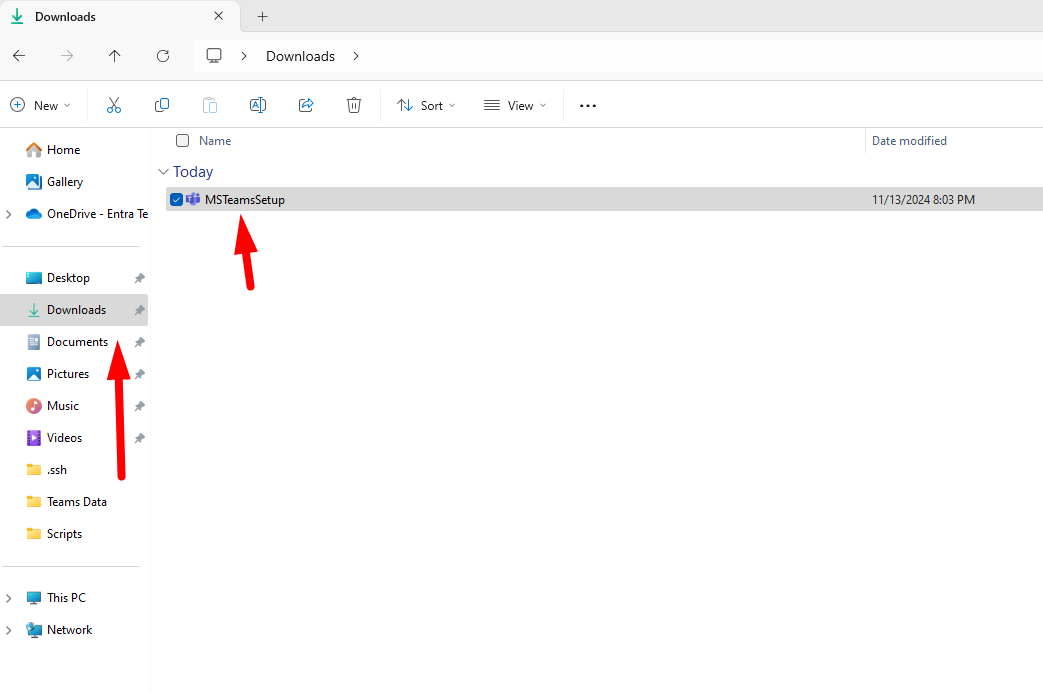
Run the installer
Double-click the downloaded .exe file to start the installation.
Follow the on-screen instructions to complete the setup.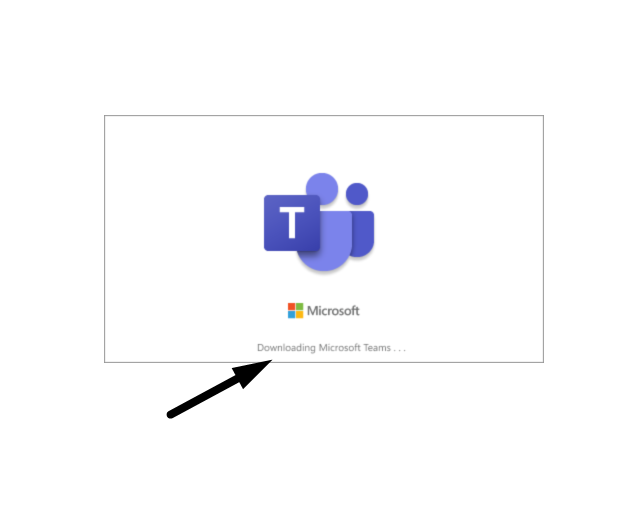
Once installation is complete, Teams may open automatically.
If it doesn’t, click the Start button, type Microsoft Teams, and select it from the list.
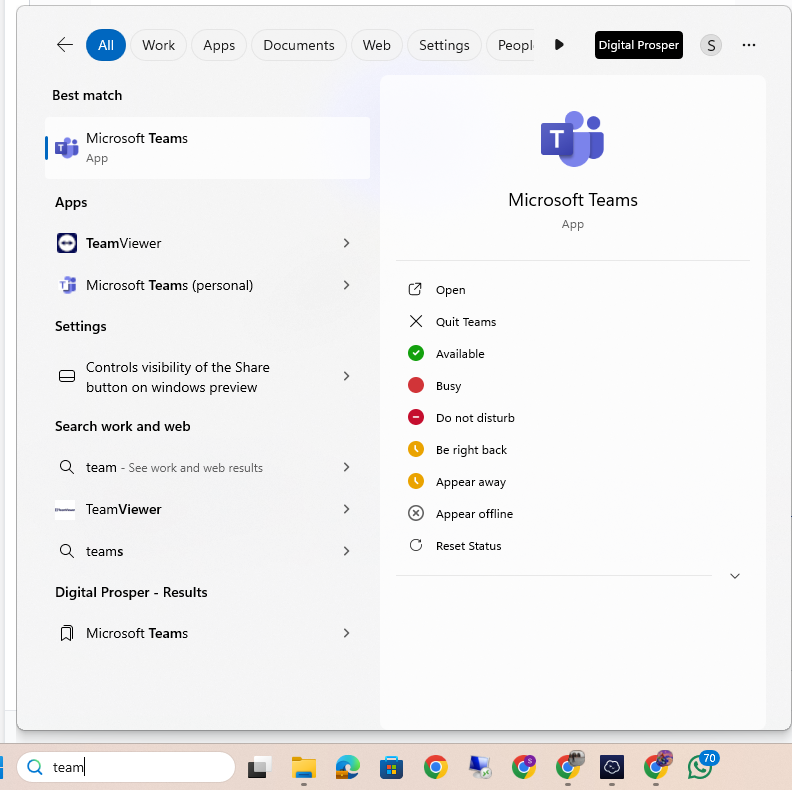
You can also open it from a desktop shortcut if one was created.
When Teams opens, you will see a sign-in screen.
Enter your college-provided email address and click Next.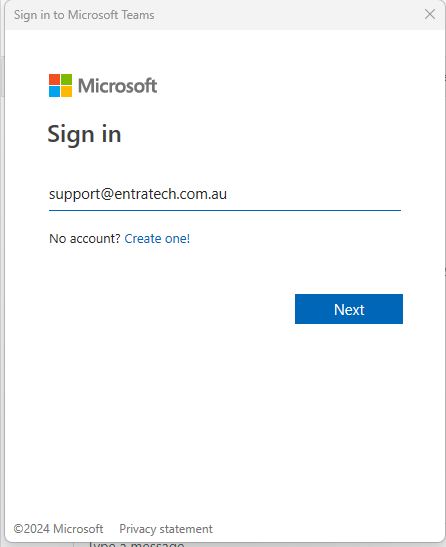
Enter your password and follow any additional prompts (such as verification) to complete the sign-in.
You are now ready to use Microsoft Teams for your classes and communication.

